

How whisky is made: A (very detailed) primer
For the geeks and the science nerds, we've got temps, timings, and chemical processes
We’re here for the geeks and the detail-oriented researchers, and we’re also oh-so aware that most of the information you’ll find out there about the science of whisky distillation is incomplete or inaccurate.
There’s a reason for that: most people who write about whisky aren’t that hands-on. They’ve spent plenty of time reading and researching (nothing wrong with that!), but few—if any—have spent time in the distilleries or the maltings.
So, in this dense primer, we’re combining the two.
We’re breaking down the entire, detailed process of whisky making—partly from the scholar (Shelly) and partly from the experienced (Vic).
(Sorry, no graphics this time: we have a limited amount of space! But we’ll show you more in the science articles dedicated to each step of the processes.)
Keep in mind that this primer will always be free. Think of it as your overarching study guide. And we’ll take this opportunity to remind you that future articles for the ‘Science’ section of this publication will flesh out every aspect of this process. To get those when they come out (and have forever access to them in the archives), we invite you to sign up as a paid subscriber.
(Thanks for staying during that ad break…now, on to the primer!)

The quick map (what happens, in order)
malting → milling → mashing → fermentation → distillation → cask filling → maturation → marrying and reduction → filtration and bottling
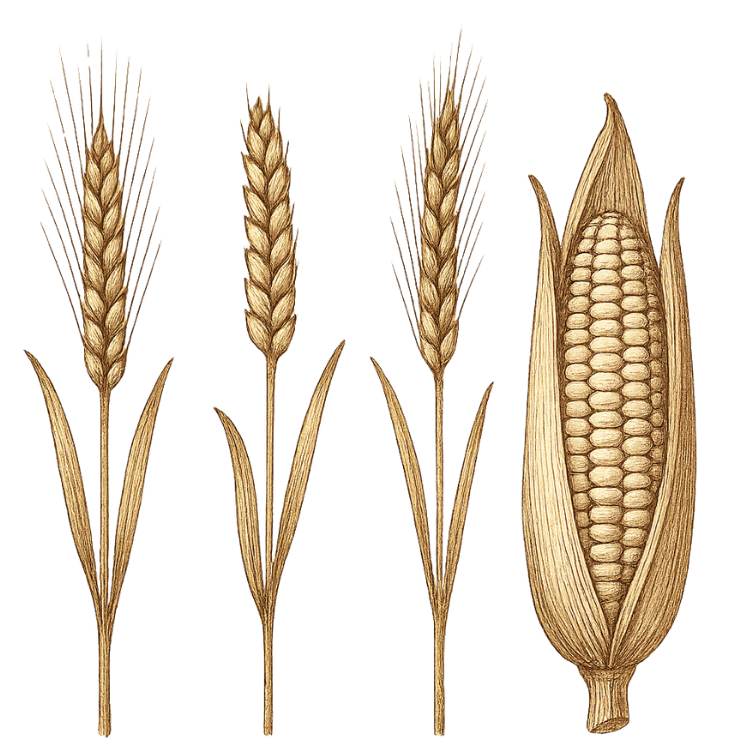
Step 1: Malting (steep, sprout, and kiln)
Step one is gathering grains, steeping them in water to start the chemical processes needed to get the starch needed for fermentation. (The science of this is in-depth and involved, so we’ll dive further into those details in a later article for the ‘Science’ section.)
Goal of this stage: activate barley enzymes and build flavour precursors.
Equipment: steep tanks; germination floors or drums/Saladin boxes; kilns; peat burners (optional).
Steps and numbers:
Steeping: 2–3 cycles of wet/dry over 36–48 hours to reach ~45% grain moisture. Water ~10–16°C; are out between wets.
Think of this like dunking a tea bag: you’ll need to wet the grain, then let it dry before wetting it again. This activates the enzymes needed without allowing it to sprout.
Germination: 4–6 days at ~15–20°C; turn regularly to avoid matting; target “acrospire” growth ~¾ of kernel; aim for high DP (diastatic power).
The action here is happening inside of the grain. Hormones are being released that tell the grain to start sprouting, but those are stopped before the sprouting actually occurs, ensuring the starch needed for fermentation.
Kilning: 24–48 hours in two phases:
Withering/drying: keep grain bed ≤60°C (often ~45–55°C) to preserve enzymes; if peating, peat smoke applied here. Typical phenols: 0–3 ppm (unpeated) to 30–50+ ppm (Islay).
Curing: raise to ~70–85°C to drive off moisture to ~4–5% and set colour. (Heavier roasts/toasts reduce enzyme activity, increase Maillard notes.)
Flavour levers: barley variety; peat level/time; kilning airflow; final moisture.
Phew, the science involved in this part of the process is dense. In the interest of space, we’ve given you just the basics. Look out for an article later that unpacks the process.
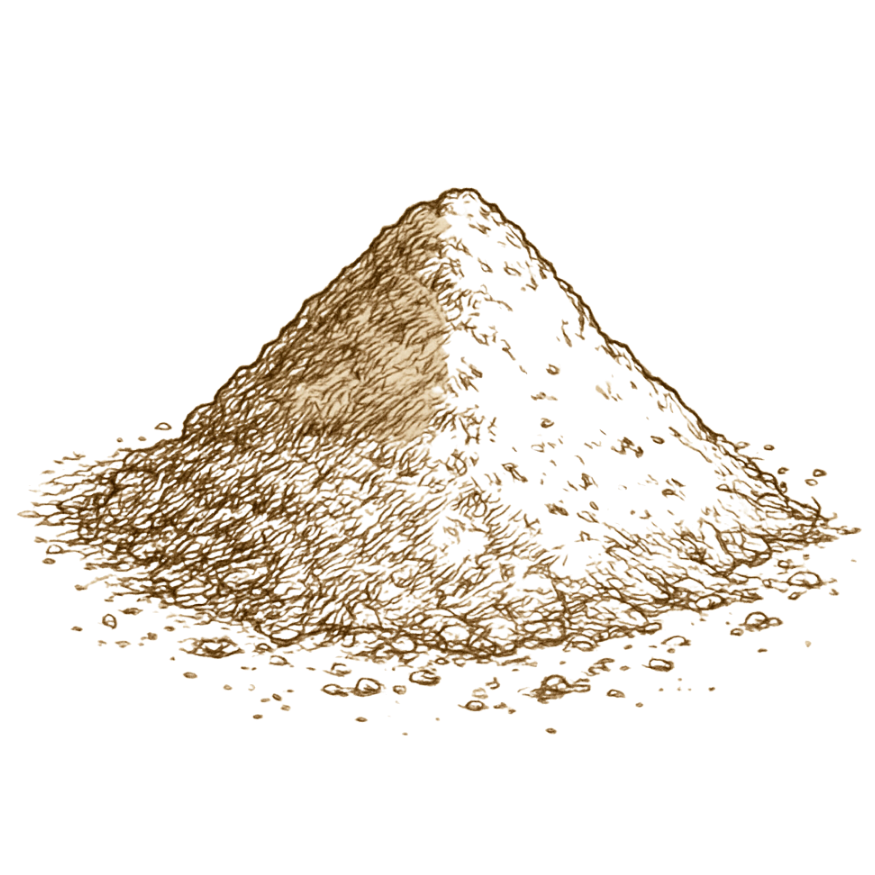
Step 2: Milling (grist preparation)
Now that the grain has been prepared and dried, you’ll need to grind it down, which results in 3 types of ‘dust’: grits (course particles of broken up starch/protein from inside the grain), husk (papery outer coat of the kernel), and flour (very fine endosperm powder from inside of the grain). You’ll need the right amount of each to keep the process going properly.
Equipment: 4-roller mill (malt); hammer mill (more common in grain distilling).
Target grist ratio (by weight): ~70% grits, 20% husk, 10% flour.
Note: Too much flour and you’ll get stuck in mash…and too much husk will result in a tannic extraction.
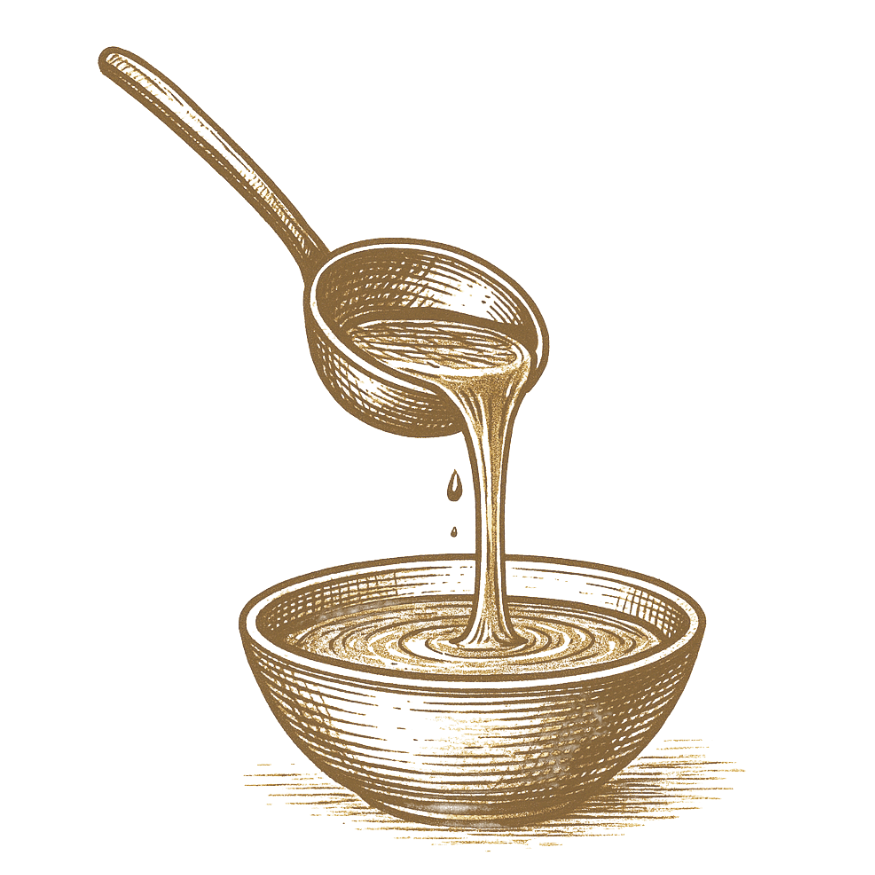
Step 3: Mashing (starch to fermentable sugars)
Now you’re going to mix the grist you got from milling with water and heat to get wort: a sugary liquid that you’ll ferment.
Equipment: mash tun (traditional rake and plough), semi-lauter, or lauter tun; underback; heat-exchanger.
Barley:water: typically 1:3–1:4 by weight (varies by tun and clarity target).
Three-water regime (common in Scotland)
1st water: 63–65°C, ~45–60 min rest. Enzymes (α/β-amylase) produce clear, ester-friendly wort. Run off to underback.
2nd water: 72–75°C, ~30–50 min. Extract remaining sugars. Combine with 1st.
3rd water: 82–88°C, short sparge to wash the grain bed; often held back as the next mash’s 2nd water.
Targets: OG ~1.060–1.070 (14.7–17.5°P) for combined first and second worts; wort clarity chosen for house style (bright = fruit-forward; cloudy = cereal/heavier).
Yield benchmark: ~400–420 L of pure alcohol (LPA) per tonne of malt under Scottish norms (varies widely).
And now you have your liquid to ferment! Fun fact: the wort that you now have is the same liquid used to make beer. Boil it and add hops here to get beer. For whisky, let it cool and throw it into a washback with yeast.
Step 4: Fermentation (wort to wash)
Now let’s make some alcohol. You’ll need to turn the wort into wash.
Equipment: washbacks (Douglas fir/Oregon pine or stainless steel), 20–60k L typical; CIP systems; cooling jackets.
Yeast: distillers’ strains of Saccharomyces cerevisiae (often M or MX types); some add brewer’s yeast for ester complexity.
Temperatures and timings
Pitching: 18–22°C (some up to 25°C).
Peak exotherm: 28–34°C in first 12–24 h.
Duration: 48–72 hours standard; 96–120+ h “long” ferments encourage fruity esters/lacto complexity.
Outcomes: wash at ~7–10% ABV; pH falls ~5.2 → 3.6–4.2; CO₂ evolution; foam management may be needed.
Flavour levers: longer ferments = more esters; wooden washbacks can harbour resident microbiota; cooler/cleaner ferments = crisper fruit; warmer/longer = tropical/funk.
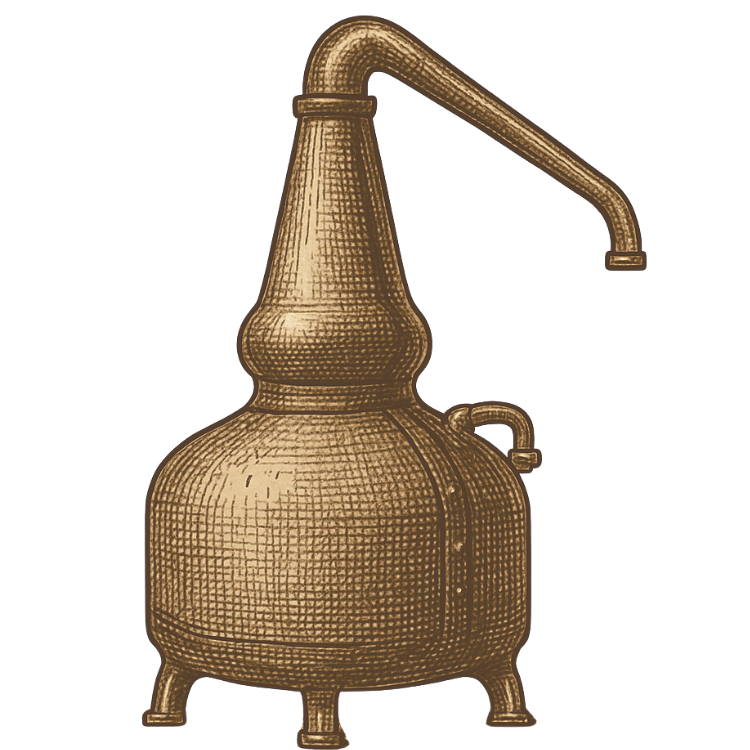
Step 5: Distillation (separating and shaping spirit)
The wash will be turned into a spirit once it's distilled. Different shapes of stills will produce different flavours and strengths.
Pot still route (malt whisky)
Equipment: copper wash still and spirit still; steam coil/pan heating; lyne arm (angle influences reflux); condensers (worm tubs = heavier/meatier; shell-and-tube = cleaner).
Run 1 (wash still)
charge: fermented wash (~7–10% ABV).
boil behaviour: ethanol begins to carry over from ~78°C vapour temp, but wash boils near 100°C (depends on ABV).
output: low wines ~20–25% ABV, plus foreshots, collected in the low wines receiver.
Run 2 (spirit still)
charge: low wines + recycled feints and foreshots
cuts (typical):
foreshots/heads: >72–75% ABV; high, solventy volatiles.
heart: ~72 down to ~60–65% ABV (house dependent).
tails/feints: <60–65% ABV; heavier fusels/sulphury notes re-collected for next charge.
new make: often averages ~68–72% ABV before reduction.
Flavour levers: still shape/height, lyne arm angle, condenser type, cut width, charge strength, copper contact time.
Continuous route (grain whisky)
Equipment: Coffey/column still (analyser + rectifier).
Operation: continuous feed; plates create multiple theoretical distillations; spirit up to, but <94.8% ABV for Scotch. Cleaner, lighter spirit.
The effects of different styles of stills is a whole article in and of itself. So keep an eye out for that in the Science section soon!
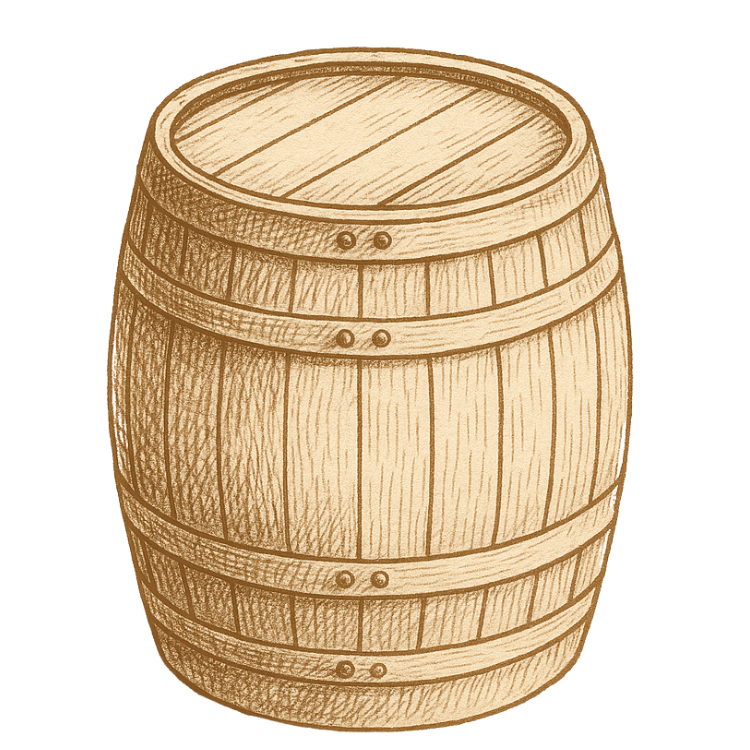
Step 6: Reduction and cask filling
At this point, you’ll have new make spirit, which isn’t whisky yet. It’s a clear spirit that’s a bit rough around the edges.
If the distillery has used interesting or experimental yeasts (like Holyrood), you’ll be able to taste those differences here. The jury’s out about whether or not those yeasts influence flavour after the spirit’s tenure in the cask.
So, now you fill the casks.
Standard fill strength (Scotland): 63.5% ABV (tradition; not a law).
Cask types and sizes:
ex-bourbon barrels ~180–200 L (char #1–4; deep caramel/vanillin).
hogsheads ~225–250 L (often re-coopered bourbon).
sherry butts ~500 L (Oloroso/PX; toasted rather than charred; dried fruit/nuts).
others: wine casks, rum, port (used for full-term or finish).
Cask size matters because of surface contact. More contact with the surface of the cask can mean more flavour!
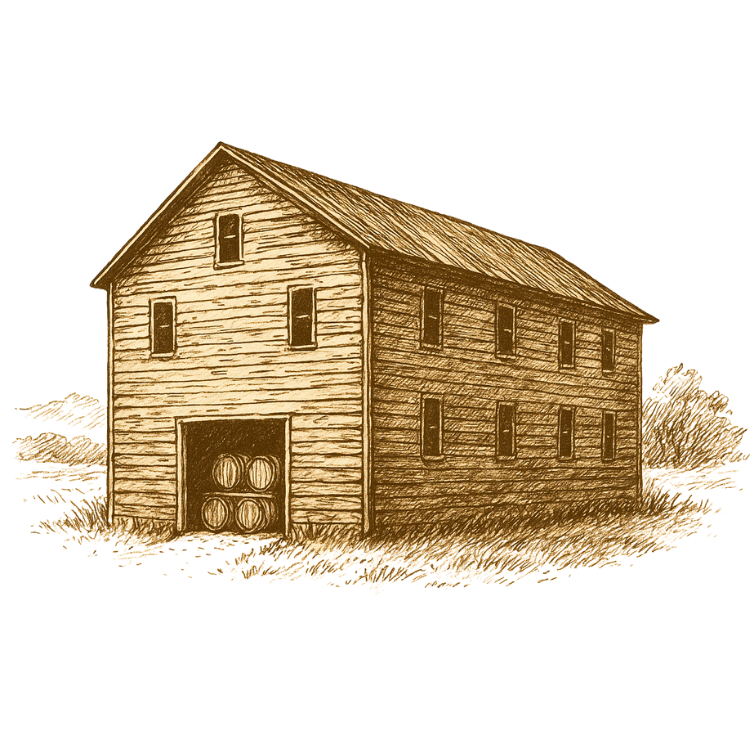
Step 7: Maturation (time, wood, and place)
Whisky only becomes whisky after it’s been in the cask for at least 3 years (by Scottish requirements). And, as far as we can tell scientifically, this is where the flavour really comes together.
What happens in the cask is still a bit of a mystery, and because every cask has a different chemical composition, depending on what was in it before, how much might be left behind, how old it was, how strong it was, etc.
No two casks are the same, so no matter how precise your process is until this point, the cask could change flavours in ways you don’t expect.
Here’s how the spirit is stored and matured once in the cask:
Warehouses: dunnage (earth floor, 3-high; cool, stable), racked (tall, variable), or palletised (stacked on pallets, which is becoming more and more common)
Climate: Scotland ~5–20°C annual range; relatively humid. This helps to pull flavours from the cask without making the spirit stronger. (Scotland happens to have a nearly perfect climate for whisky maturation!)
Angel’s share (loss of liquid during maturation): ~1.5–2.5% volume loss per year typical; ABV tends to decrease in Scottish humidity. The size of the cask will affect this.
Legal minimum (Scotch): ≥3 years in oak casks ≤700 L. (All Scotch whisky has been matured for at least 3 years in the cask.)
Management: refill vs first-fill, re-rack, finishing (e.g., 18–36 months in a secondary cask).
Sensory change over time: extraction (months), integration (years), oxidation/esterification (years+); sulphur mitigation via copper carryover and time. (We’ll go over this in more detail in a later article for the ‘Science’ section.)
The cask is really where the whisky magic happens. See the primer on casks in the ‘Primer’ section for more on that!
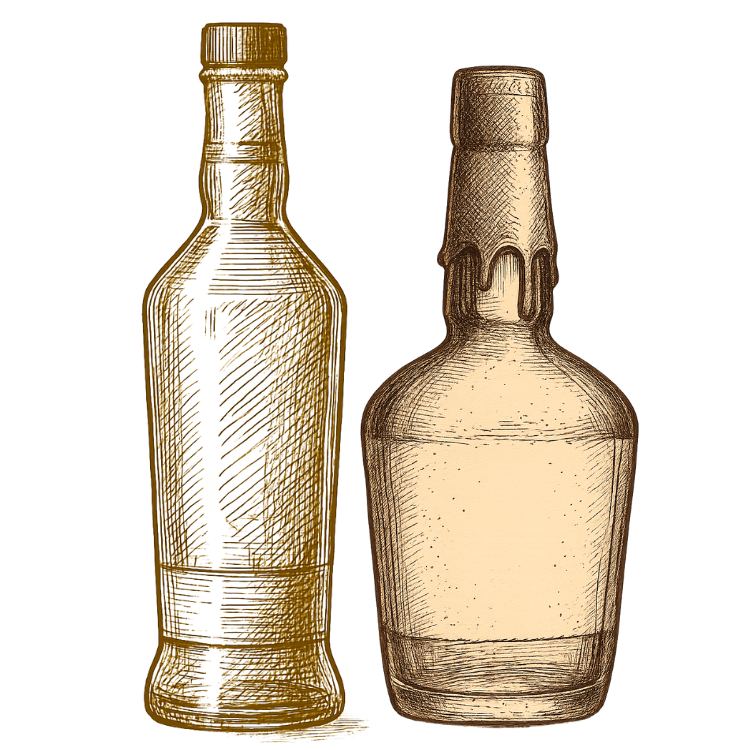
Step 8: Marrying, reduction, filtration, and bottling
At this point, you officially have whisky! Congrats. Now, there are some things to consider before getting it into the bottle.
Marrying: vatting multiple casks for consistency; rest days–weeks. (For big distillers, this is important for consistency of product.)
Reduction: gradual dilution with water to bottling strength (common: 40–46%; cask strength left undiluted).
Chill filtration: often applied below ~0–4°C to remove haze-forming fatty acids if bottling <46% ABV. Non-chill-filtered typically ≥46% ABV. (We have a Science article coming on JUST this part of the process!)
Colour adjustment: E150a (“plain caramel”) permitted in Scotch for colour consistency.
Bottling: final pad filtration (e.g., 0.45–1.0 μm), closures (cork/synthetic), oxygen management.
Quick take on other traditions
There are different legal and process differences across cultures. Here’s where we'll consider those differences from the above framework.
Bourbon (headline differences)
mash bill must be ≥51% corn; common: corn/rye/malted barley or corn/wheat/malted barley.
sour-mash technique (backset 15–30%) stabilises pH/flavour.
distilled to ≤80% ABV; entered into new charred oak at ≤62.5% ABV; bottled ≥40% ABV; “straight” = ≥2 years.
char levels (#1–#4) drive caramel, smoke, lactones.
Irish whiskey
often triple-distilled (lighter spirit); pot still category includes unmalted barley; minimum 3 years in wood.
Grain whisky (Scotland)
column still; wheat or maize + malted barley enzymes; lighter, high-strength spirit blended with malt.
In summation
Whisky making a science-heavy endeavour, which is why this primer feels dense…and also why years worth of articles will cover the steps in depth.
So think of this as a study guide, and supplement with what’s to come!
Subscribing on a paid tier will give you access to those articles. But, for now, this primer will always be free!